Updated:2025-03-13
Views:2359
 WeChat
 QQ
QQ
 Online Service
The model VGM is designed for rapid identification and measurement of areas that are magnetized. It is a DC gaussmeter with X,Y and Z sensors at the end of a probe. It displays the magnitude of the field and the X, Y, and Z components, showing both the actual values and the peak values of all the variables. In addition, whenever the field magnitude exceeds a value that you set, an alarm sounds and lights up, and a “logic high” signal appears at the output jack. The meter is shipped ready-to-use, and includes a 9-volt battery, USB power adapter, and calibration certificate. This meter is optimized to measure magnetized parts; its range of 799.99 gauss is not high enough to measure the surface of most permanent magnets.
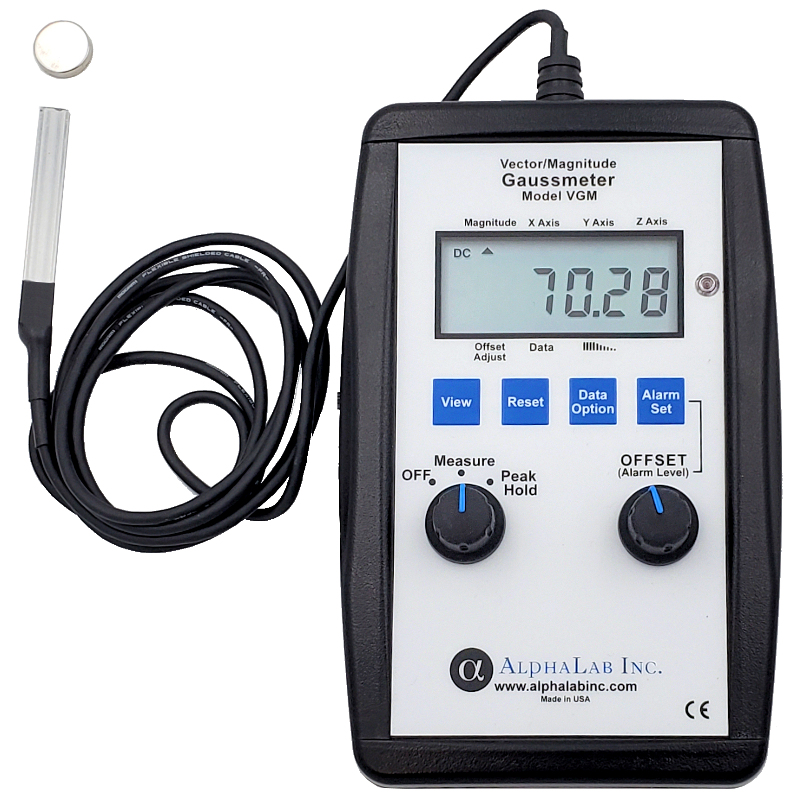
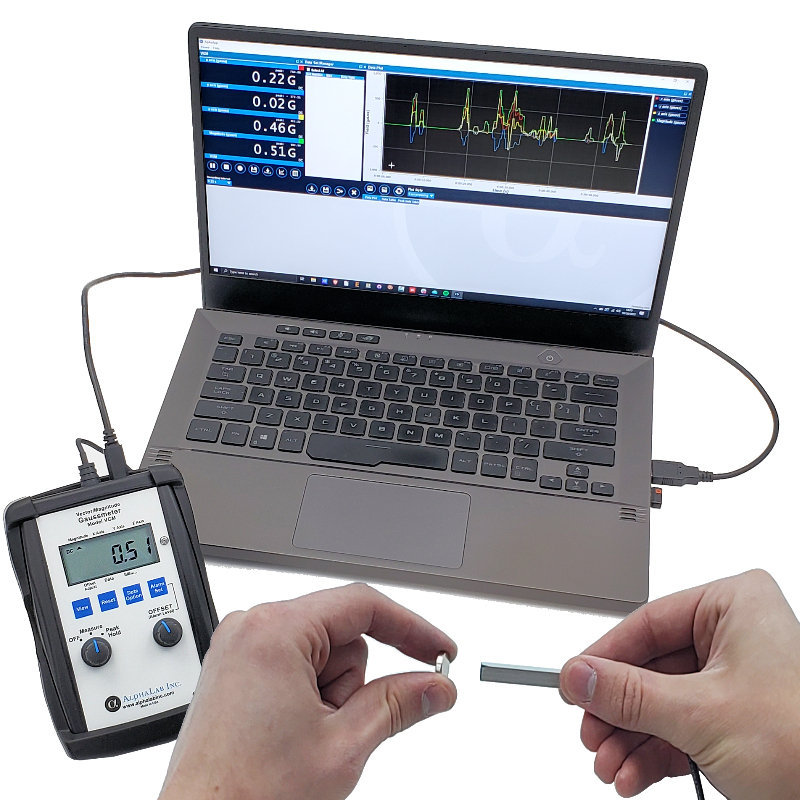
Displays the true DC magnetic field magnitude regardless of orientation of the probe
No need to rotate the probe in order to find a relative maximum. This feature greatly speeds up the measurement of residual magnetism (by roughly a factor of 10) compared to a standard single-axis gaussmeter.
Peak Hold Mode
When set to the Peak/Hold mode, it displays the maximum field encountered since the last time “Reset” was pressed. The Peak/Hold response time is also 5 milliseconds, so after scanning a surface, the meter can detect and display any very brief peak (spike) as well as a slow one. It separately displays the peak values of magnitude, X, Y, and Z even if these four peaks had occurred independently.
Sound alarm and light
Alarm sounds if field exceeds a level you set or if the field is between lower and upper levels you set.
Intuitive to use with rapid turn on, fast update. Begin measuring just by turning the knob. No setup or calibration required
Runs on battery or USB power adapter (included)
Useful for long-term peak detection. All four peak values remain stored (and continue to update if a higher peak is encountered) until you reset them. The peak values and the present values of magnitude, X, Y, and Z can be displayed at any time.
CE Compliant
Certificate of NIST Traceability
Detachable Rubber Boot
Data logging and data set downloading using USB with AlphaApp
Output Jack
An alarm output jack is on the side of the VGM. Included is a plug terminating two wires, which is a 1/8″ (3.25 mm) phone jack, similar to a small headphone jack. Output is 3.5 V when the alarm sounds (but only if the alarm is active) and 0V when the alarm is not sounding.
Very fast screening of parts for residual magnetism
Can be scanned across a part to check whether it is magnetized anywhere on its surface. An alarm sounds (and lights) only where the field magnitude exceeds the level that you set. The alarm response time is 5 milliseconds, so it can be scanned quickly. The location(s) of high magnetism then become obvious. The alarm also detects rapid transients or spikes in the magnetic field, regardless of the direction or polarity. By using the alarm and peak hold functions, partially magnetized parts can be characterized with a minimum of effort, regardless of whether the field is oriented in an unexpected direction.
Rapid mapping of magnetic field, such as from an MRI
Use the alarm functions, for example, to find the 5 gauss contour without worrying about the probe orientation.
Use as a laboratory X, Y, Z and magnitude magnetometer
Also measures transient field, even if a pulse occurs once for 5 milliseconds within a period of days.
The VGM has been optimized for rapid testing of residual magnetism (verifying demagnetization).Because of the combination of magnitude measurement, rapid alarm and rapid peak functions, the VGM requires far less time to do residual magnetism tests than any other available meter. In addition, the controls are intuitive and can be learned quickly. It begins reading the field magnitude 1/2 second after it is turned on and updates four times a second. No setup or initial calibration is required, and there is only one range– from 0.00 to 799.99 gauss in 0.01 gauss steps– so there are no autoranging artifacts or range switching to worry about. Stability is excellent, with noise level (jitter) of 0.02 gauss for X, Y and Z and magnitude (compare to the Earth field of about 0.5 gauss). Reproducibility at constant temperature is better than one part in 5000 of the reading ±0.02 gauss. If the field magnitude abruptly changes, the display will show the new field value within 1/2 second (two display update times), but the alarm and peak hold functions have a much faster 5 ms response time (90% in 5 ms, 98% in 10 ms). The display is always positive when reading the magnitude, but it will show a negative sign on X, Y, and Z if any of those polarities are negative. The “View” button shifts the display between magnitude, X, Y and Z. This shifting will work whether the actual field values are being displayed (when the left knob is set at “Measure”) or when the peaks of these four values are being displayed (knob at “Peak Hold”). The Peak detection circuit is always operating whether the left knob is at “Measure” or “Peak/Hold”.
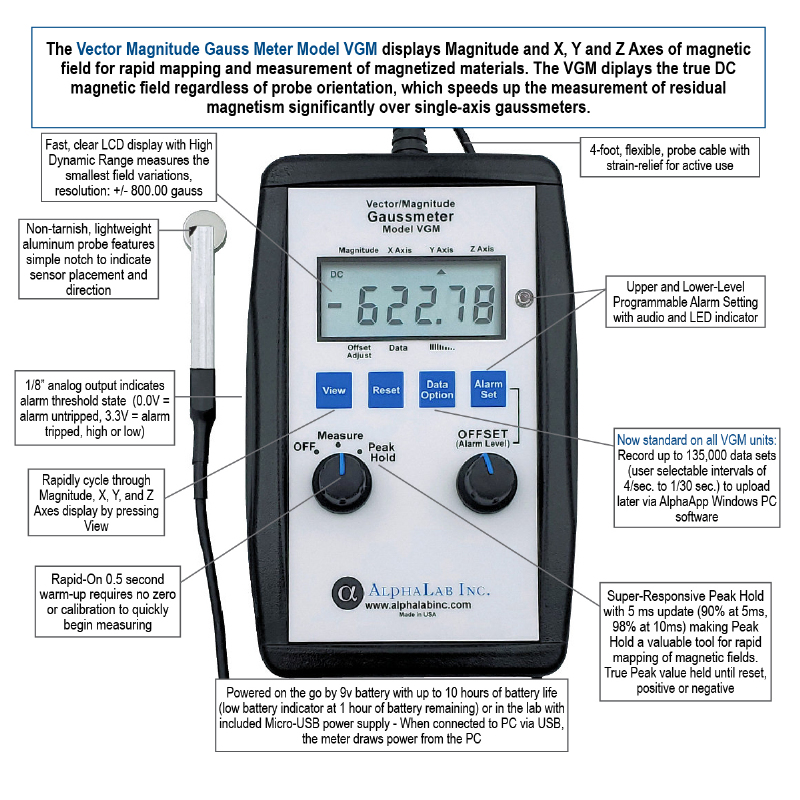
An offset can be applied to X, Y, and Z, much as tare is used with a weight scale. In general, the meter should read zero wherever the field is zero; as shipped, it operates this way (±0.1 gauss). However, there is one case in which different XYZ offsets are needed: when measuring any changes (from ambient value) of the field. If the magnitude (the square root of X2 + Y2 + Z2) is being read, pressing the “Reset” button will set all three (X,Y,Z) to zero, so the magnitude will immediately read zero in that location. It will continue to interpret that particular field as “zero” even if the meter is turned off and back on, until a new offset is applied. Placing the probe in a new location (or even rotating the probe) will generally result in a non-zero reading. The offsets can be returned to the factory setting by pressing “Offset” to enable “Offset Adjust” (flag on display will illuminate) and then “Reset”. Press “Offset” again to return to normal measurement (flag will disappear from display). For a very accurate zeroing, place the probe in an area with zero field and press “Reset”. A zero gauss chamber is available to obtain zero field, but there is another way to zero the meter that can be done without a chamber. It requires about two minutes and is described in the instructions.
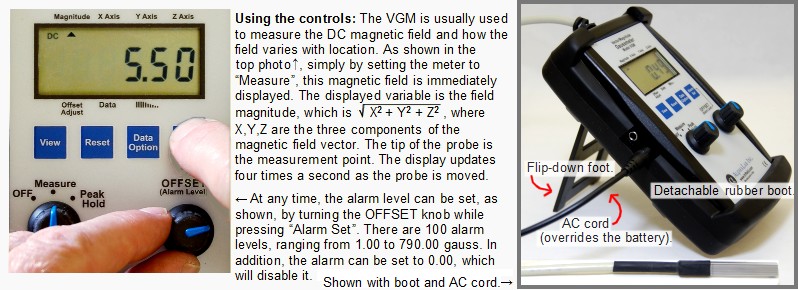

Accuracy for each axis is ±1% of the reading at room temperature ( 16 C to 29 C or 61 F to 84 F), and ±2% of reading in the full temperature range of -4 C to 65 C (25 F to 149 F). Magnitude accuracy is the same. The offsets for X, Y, and Z are preset to within ±0.1 gauss at 23C, and drift with temperature < 0.01 gauss/degree C. Offsets can be altered by the user and/or restored back to the preset levels an unlimited number of times. The probe has a 1/4″ square (6.35 x 6.35 mm) cross section and all three Hall sensors are within the tip 1/8″ (3.2 mm) of the probe. It is at the end of a 40″ (100 cm) flexible cable which is not detachable. Pointing accuracy ( X-Y-Z orthogonality) is better than 1 degree of arc for all three axes. The included standard 9-volt battery lasts about 10 hours of “on” time (drain = 25 mA). LOW BATTERY indicator shows when about one hour of battery life remains. Weight is 260 grams (0.6 lb.) Meter dimensions are 14cm x 9cm x 4.5cm thick (5.5″ x 3.5″ x 2.75″). The model VGM is warranted for one year. (During that time, AlphaLab Inc. will pay for standard shipping back to us and for return shipping to you. The warranty time is then extended by the amount of time the meter was not in your possession.) A calibration certificate is included. Recalibration is normally not required within 10 years, but we can perform a recalibration on this meter if required (fee applies).
| Range/Resolution: | ±799.99 G/ 0.01 G. Includes polarity of X, Y, Z. Magnitude = is sqrt of sum of squares. |
| Accuracy: | 1% of reading (16° to 29° C), 2% of reading (-4° to 65° C) Pointing accuracy 1% of arc. |
| Offsets: | Relative zero (subtracts present field from X, Y, Z); Unlimited manual offset of X, Y, Z. |
| Probe: | 3-axis nondetachable 6.3 x 6.3 x 50 mm long. All three sensors are within 1.5 mm of probe end. |
| Peak Hold: | 0.005 sec time constant. Peaks in X, Y, Z and magnitude are recorded and stored separately. |
| Alarm: | Associated with magnitude only, 5 millisecond response time; Simultaneous red light. |
| Alarm Levels: | 100 levels can be selected, from 1.00 to 790.00 G |
| Meter Size: | 5.8 x 3.8 x 2.0 inches; 147 x 97 x 51 mm |
| Weight: | 11.7 oz |
| Battery: | 9 volt alkaline (~ 10 hour life) / “Low Battery” indicator. |
| field type: | DC Magnetic |
| max range: | ±799.99 G |
| number of axes: | 3-axis |
| accuracy: | ±1% |
| applications: | Manufacturing, Aerospace, MRI |
| category: | Gaussmeters |
| certification: | NIST traceable |
| resolution: | 0.01G |
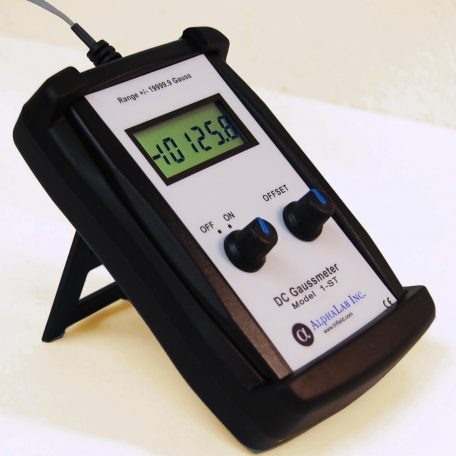
Detachable rubber boots compatible with Vector/Magnitude Gauss Meter Model VGM.
Customer Service QQ
Customer Hotline:
Technical Supports